The notebook is effective for saving a great amount of useful information about shop operations, servicing tips, and other topics.
The Notebook screen is divided into three parts. On the lower part of the screen is a browse box showing the topics. The upper left half of the screen displays a field for the topic, and then a text box. As you browse the lower box, the information is displayed in the upper boxes for the highlighted record in the browse.
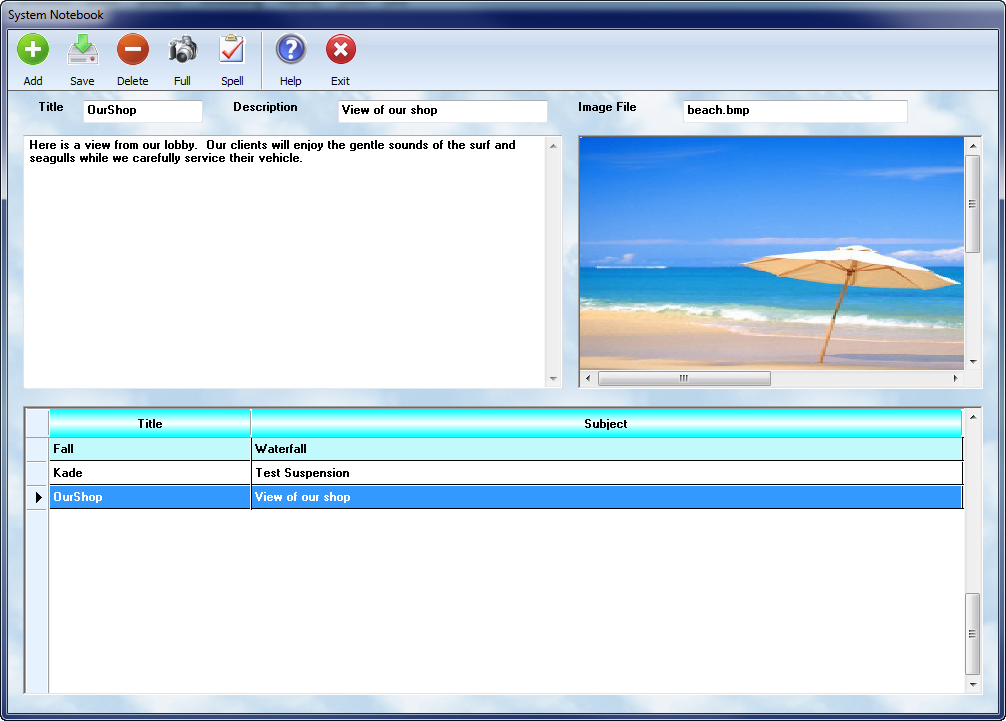
The upper right section of the screen is used to display a graphic file. If you wish to attach a scanned image, or picture, into your computer, save the file to your \ASW8 directory. Then, simply enter the name of the file, with its extention ( ie. sample.jpg ) in the box titled "Image File Name".
Images are automatically loaded as you browse the list of topics. You can select the View Image button to actually view in full screen mode. The view window has scroll bars to permit browsing of an object that might be too large to fit in the window, ie. a wiring diagram.
You can edit any information by making the changes and selecting the ![]() button. You can start a new topic by selecting the
button. You can start a new topic by selecting the ![]() button, or remove a highlighted topic using the
button, or remove a highlighted topic using the ![]() button.
button.
Your right mouse key provides cut, copy, and paste edit features so you can modify, or move, highlighted text. Use standard windows procedures for highlighting, and moving, text in the main information window.